Night of the living dead!
- Oct 11, 2021
- 2 min read
Updated: Nov 18, 2021
Tia's Tips: If you have a creative vision, but don't have the "materials" for it-GET CREATIVE! After all, this is ART! Think around what you might typically use and use something different or create something of your own.
Welcome Crafty Friends! I've got a lot of techniques going on in today's post! But let's start with the thought behind today's tip.
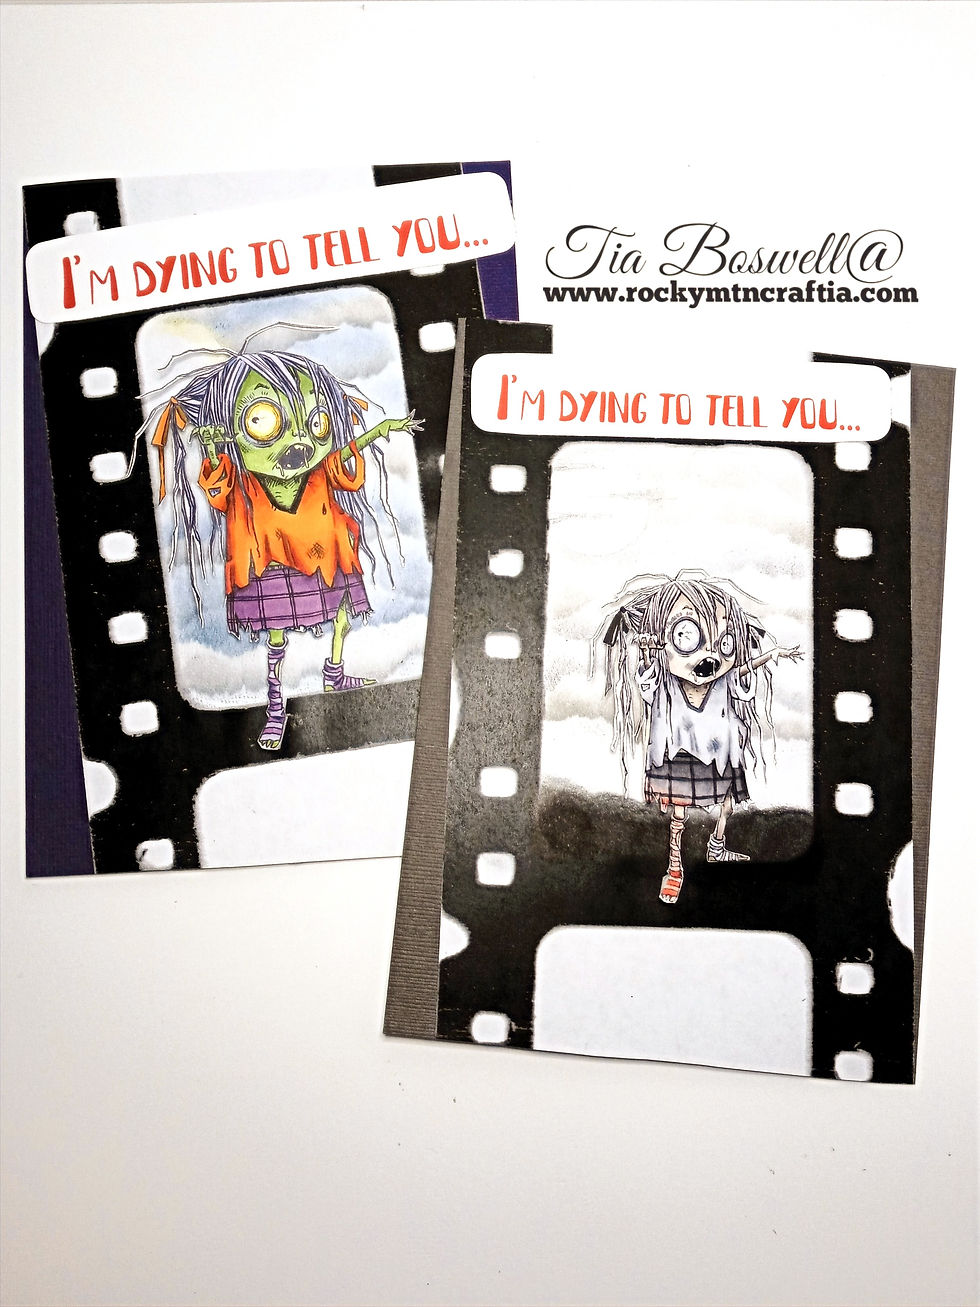
I adore this digi, "School Girl Zombie" from #mosdigitalpencil1 I had the idea to feature her in 3D, like she was reaching out for you (too many creature features as a kid!) Then I thought, oh-have her walking out of a strip of film! And here was where it got tricky. I have a filmstrip die, a mini-die from #timholtzaterations. I toyed with the idea of making a filmstrip from cardstock and then I thought, what if I photocopy what I have and increase the image size!
the project:

Voila! I achieved all the filmstrip holes and an aperture size to accommodate my digital image.
I ended up using the larger filmstrip size form because it allowed me more room to create a background that could be seen.

For the background, I used a technique that I think is just FUN and easy! I first did this in elementary art class to make mountains and we used oil pastels. (my art teacher would be so proud!)
Tear a piece of paper of paper-towel and with your sponge brush/dauber lightly brush the ink from the paper on to your project. Lower the paper, pick another spot and repeat. You get all the neat jagged edges and variations for pennies!
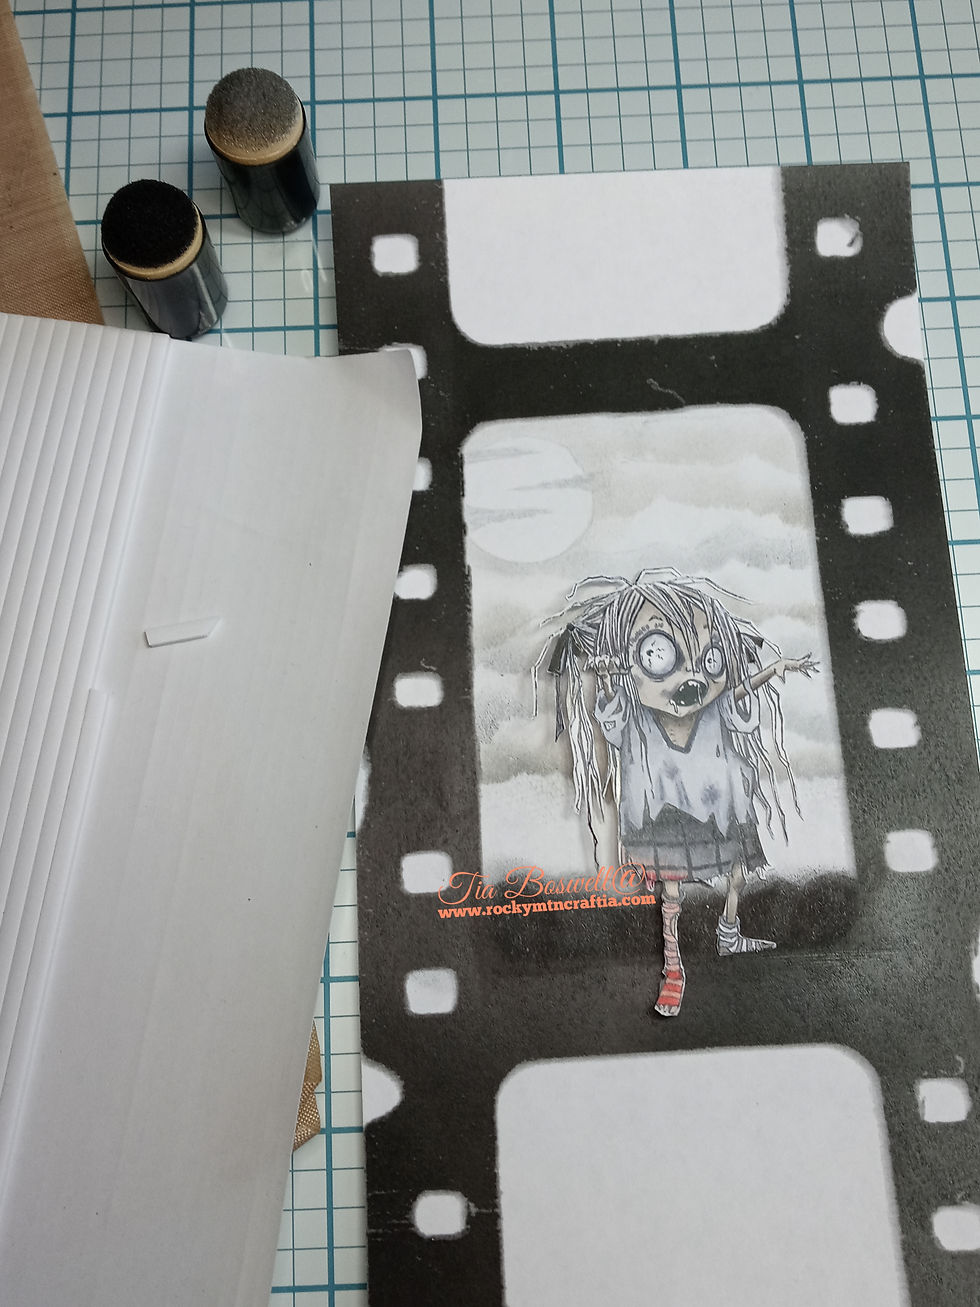
I thought it would be cool to do a black and white movie theme so I only used the Pumice stone and Black Soot distress Inks for the background.
Creating a monochromatic Zombie was an interesting challenge. I have all four sets of grays and really got good use of them.
TIP: Use warm-gray for skin tones.
Even though she is the "undead", I still used Warm grays for her skin; Tone grays in her hair; Cool grays for her shirt and Neutral grays for her skirt.
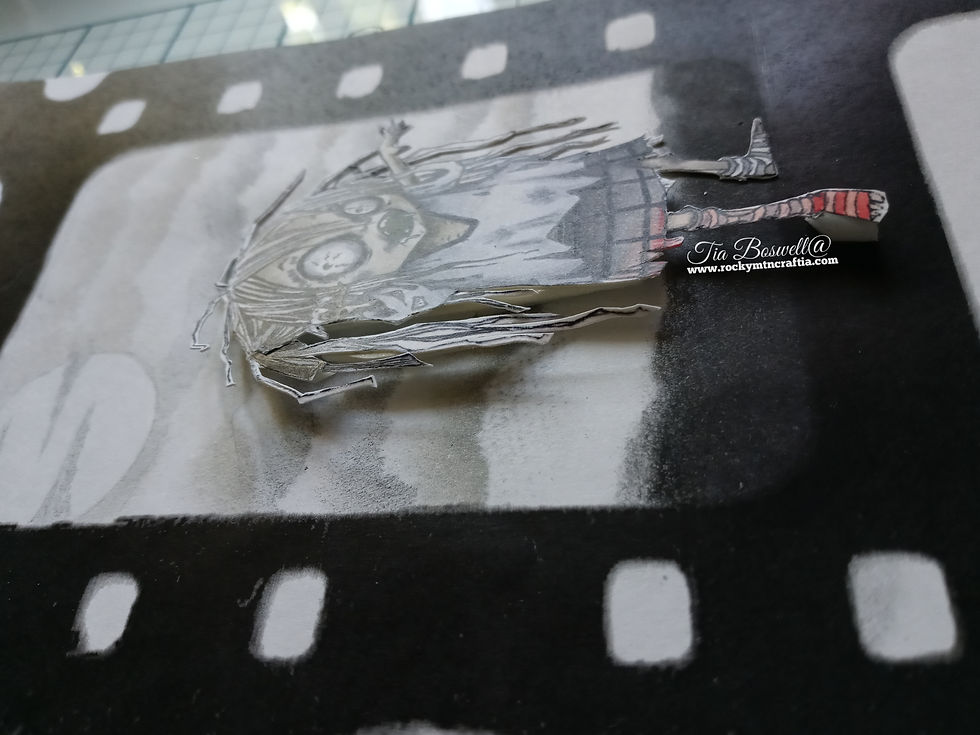

I wanted to have her reaching out of the film and popped her up on double strips of foam tape. I really like the thin strips of foam tape from scrapbook.com (no affiliate link).
It also occurred to me, that if she was reaching out of the film to give her a touch of color-like she was leaving the black and white film!
I followed these same tips-but in color for the other zombie. I also had printed her at a larger size and used Chipped Sapphire distress ink in the background.

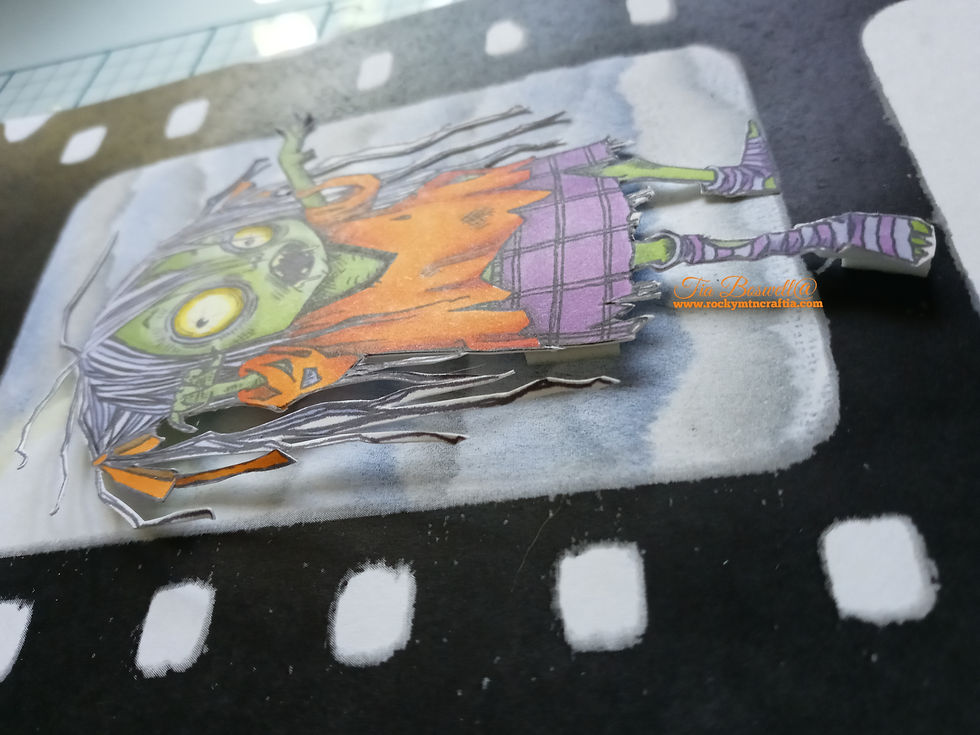
TIP: I didn't pop the entire image up, only half, the other half is glued down.

Copics Used:
Monochromatic Zombie:
Hair: T3;T5 & Black multi liner for ribbon Skin: W2;W3;W5
Shirt: C0; C2; C4; C6 Skirt: N1; N3; N5
Socks: C3; R12; R24
Zombie II:
Hair: BV31;BV02; YR04; W3 Eyes: Y00;Y04;Y08 & Red Polychrome Pencil
Skin: BV34; G40; G21; G23; G82 Shirt: Y38; YR04; YR09; E07;W3;W5
Skirt: V05; V06 Socks: BV01;V05
Hope you had fun and picked up a new trick or two! See you again soon!
-Tia


OH my gosh! I love her! I love how you made her 3D and your solve with the film strip! You are clever!! She is fantastic!!